Happy Halloween! Here’s a little project the kids and I did. We got a few requests for the recipe, so, here you go.
Rio had been eyeing the caramel apples at the grocery store for weeks. I didn’t want to buy them but told him we could make our own. It’s a pretty easy project, but only marginally kid-friendly. It involves stirring a pot of very hot liquid for a relatively long time, might want to have the kids watch a movie while you do this part. The dipping part, however, is kid heaven.
We got our delicious apples, including some lovely heirloom varieties, from Kelley Orchards. Check them out at the Boise Farmers’ Market.
I got the recipe from Simply Recipes, here it is with my modifications.
Ingredients:
- 1 cup white granulated sugar
- 1/2 cup (1 stick) unsalted butter
- 3/4 cup heavy whipping cream
- 1/2 cup dark corn syrup (I had cane syrup instead, worked fine. Syrup is supposed to keep the sugar from crystallizing.)
- 1 Tbsp dark molasses
- 1 teaspoon vanilla extract
- 1/2 teaspoon salt (original recipe said to omit if using salted butter, but who doesn’t like salty caramel?)
- 6 sturdy lollipop sticks or chopsticks
- 8 small apples (rinsed and patted dry, room temperature)
- Assorted decorations (such as chopped nuts, mini M&M’s and candy sprinkles)
- Equipment needed—one accurate candy thermometer.
Put the first 6 ingredients into a nice heavy bottomed pot and heat to a rolling boil. Continue to boil and stir until the thermometer reads 240, which took at least 20 minutes. (Unfortunately my thermometer was not as accurate as I’d hoped, the good one was out of batteries so the one I used was approximate at best and 240 was it’s max temp. It all worked out fine though.)
Meanwhile, line a baking sheet with foil or waxed paper, wash and dry your apples, and fix them with sticks. Older kids could probably help with this part while you boil your pot of goo.
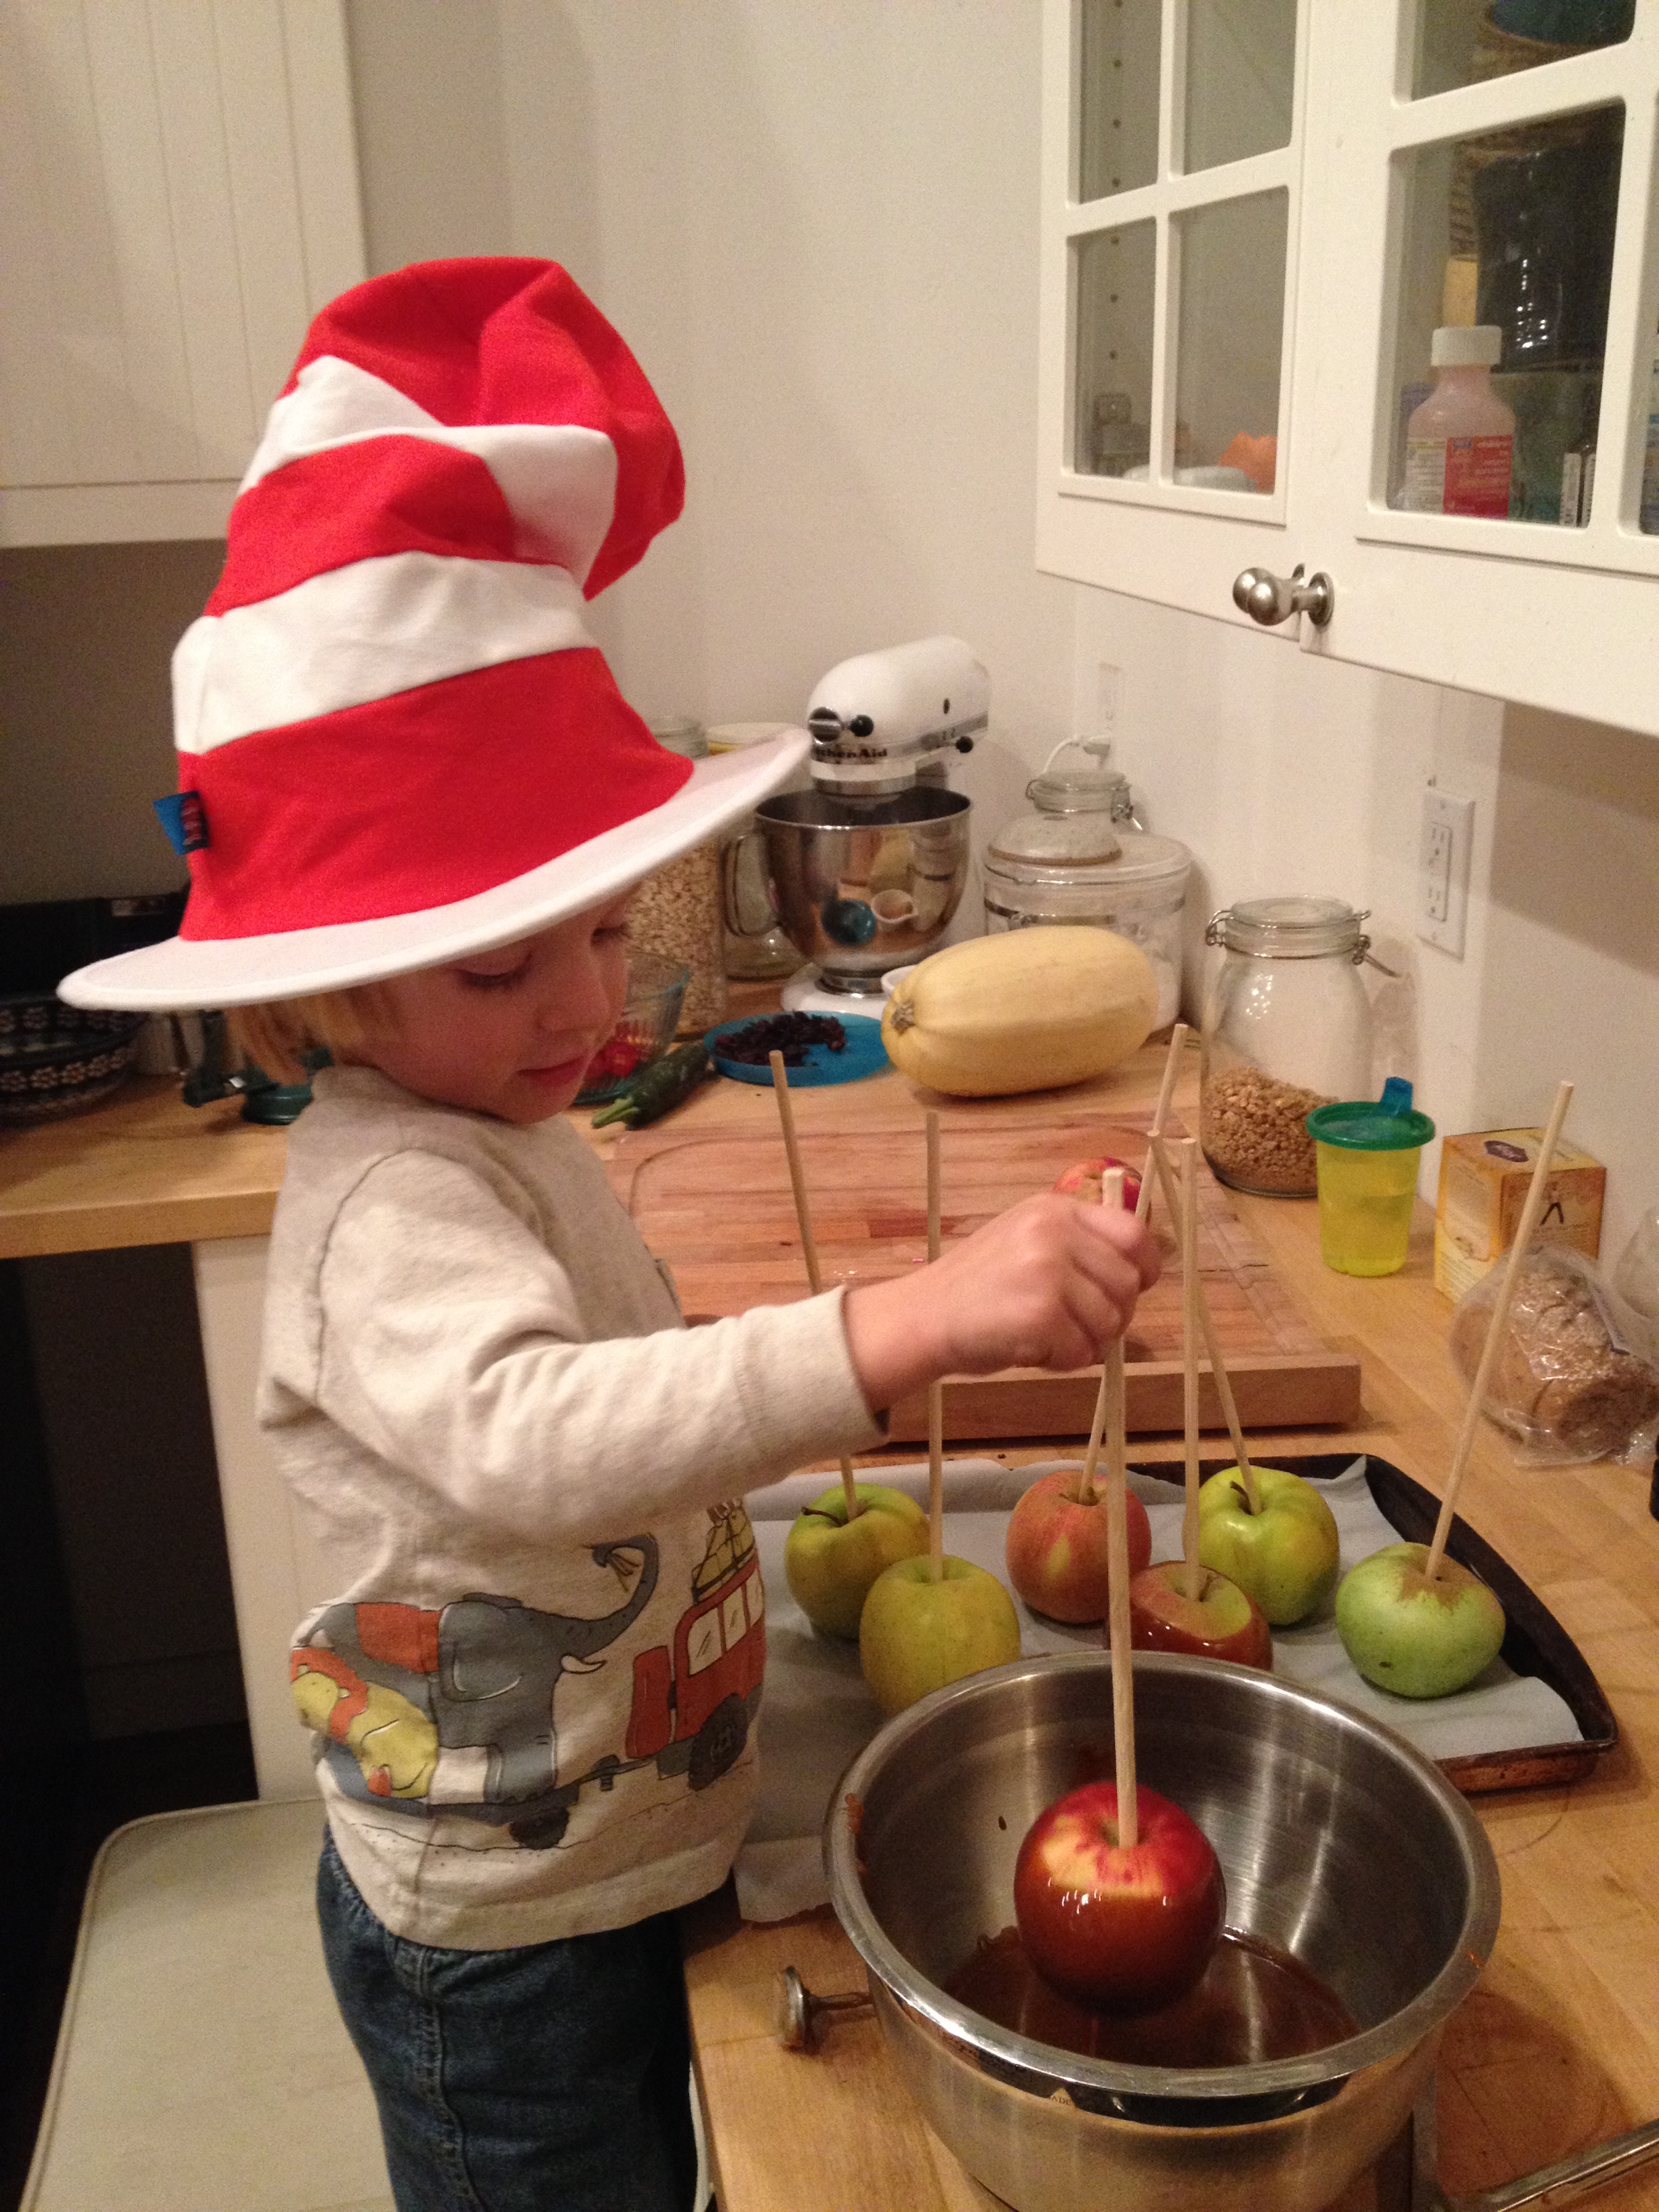
Simply Recipes says to put the caramel in a cold metal bowl and let cool to 200 before dipping. My experience was that the caramel cooled pretty fast, the last of it actually hardened before we got the apples dipped, could be because our apple dipper was a three year old. I’d say be ready and start dipping right away.
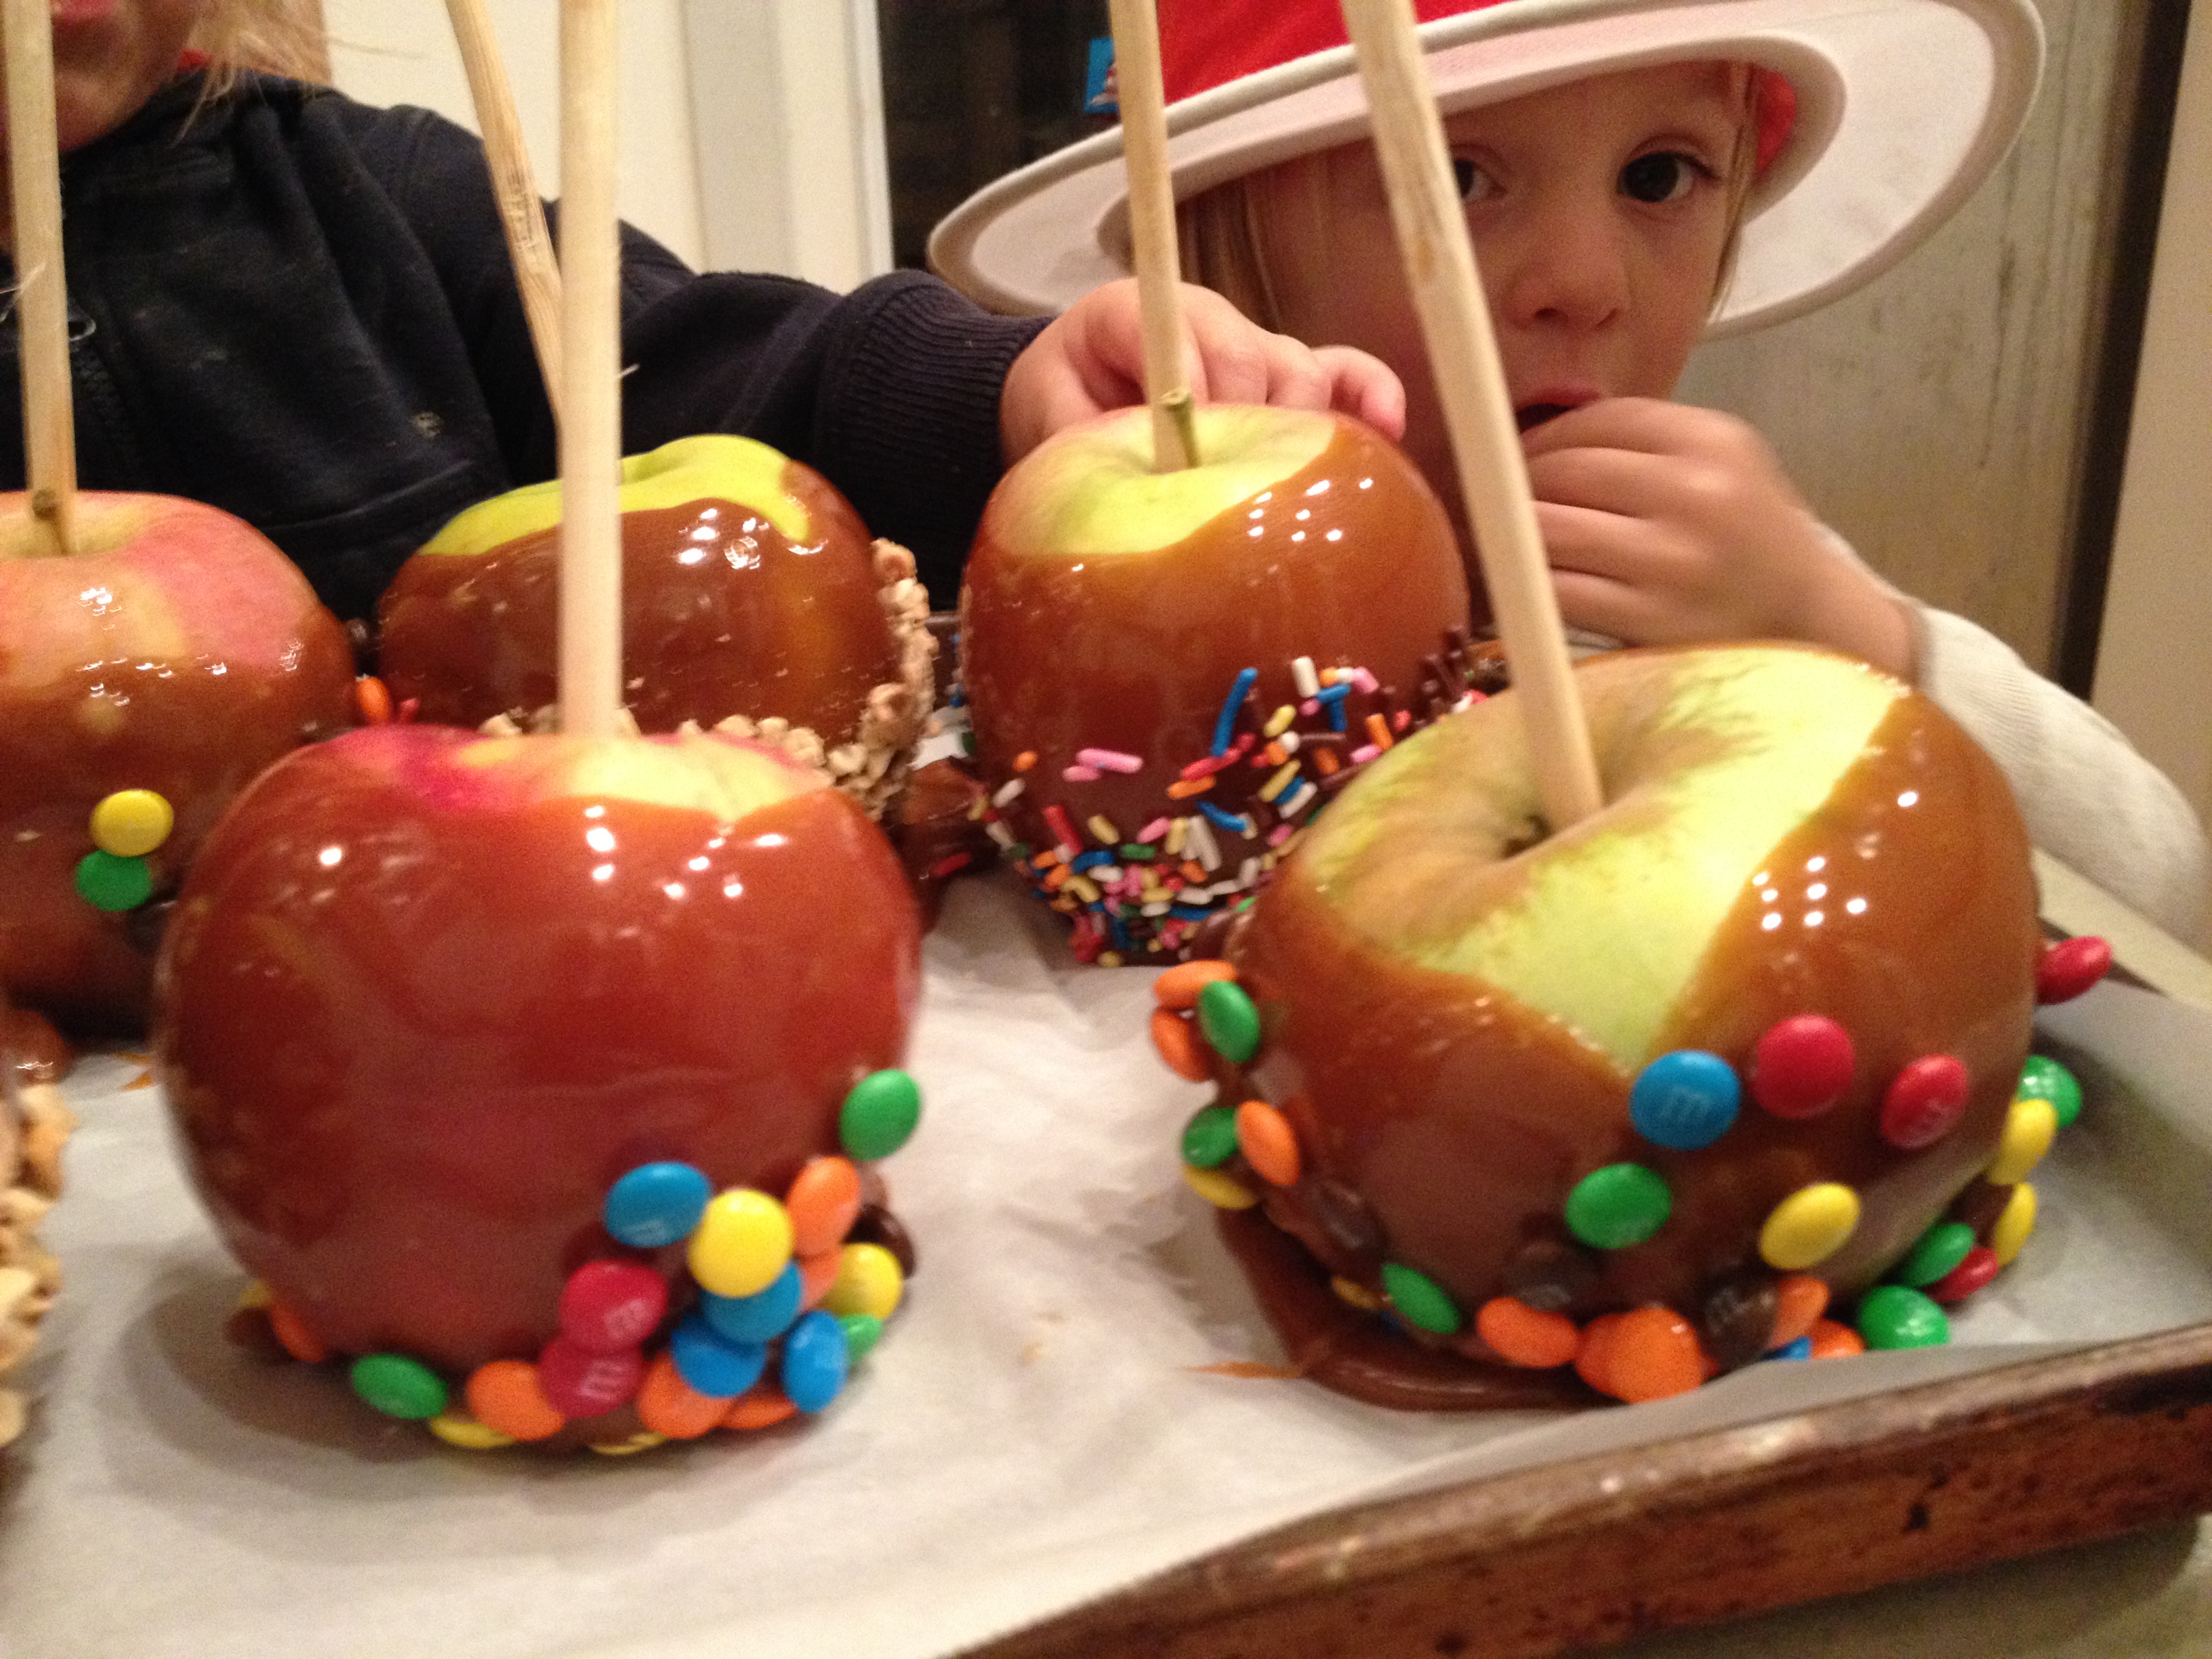
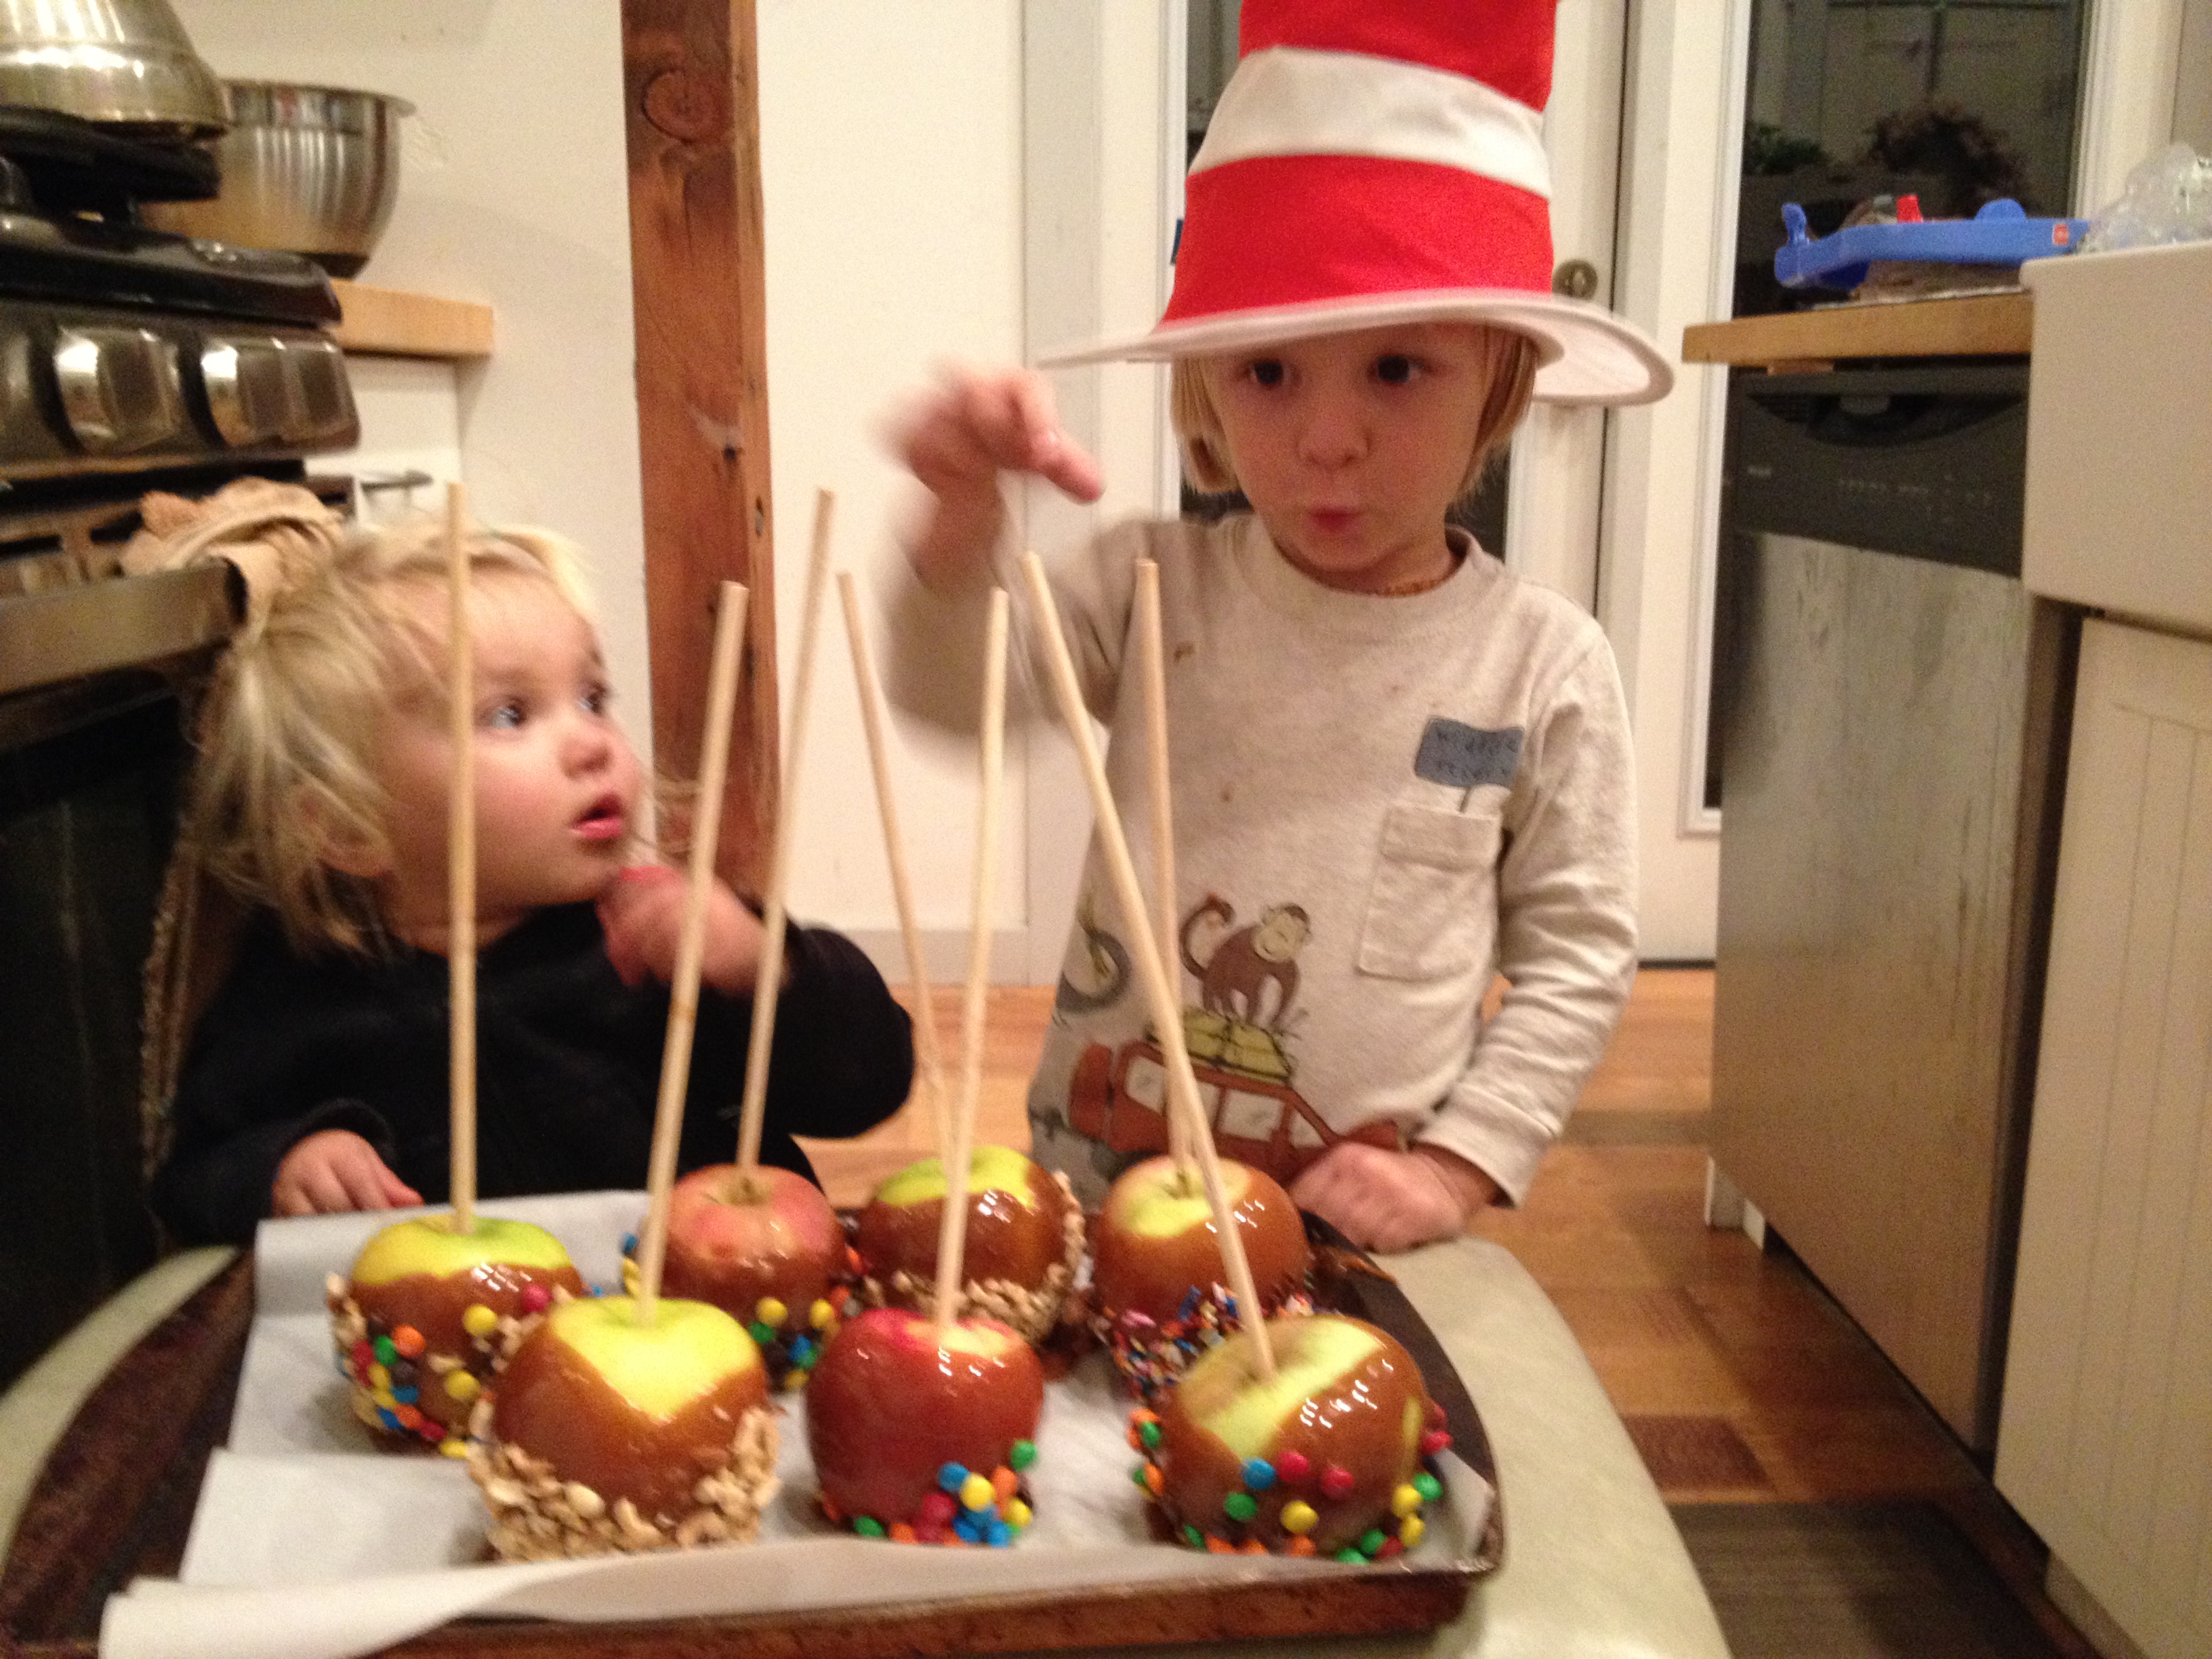
Let the dipped apples set up on your baking sheet for a few minutes, then dip them in your decorations. We used sprinkles, mini M&Ms, and chopped peanuts.

Ready to eat! Not so easy to eat. The kids loved running around with their own huge candy coated apple on a stick, but chopping them up to eat would be much more practical. If I did this again, I’d look for apples that are on the small side, as it’s hard for them to eat a whole one. Extras can be wrapped and stored in the fridge.
caramel apples

He’s the Cat in the Hat.

So nice to see you posting again!